
Last updated November 16, 2026
 Architectural shingles
 Metal roofing
 Tile roofing
 GAF
 Owens Corning
 Flat & low-slope
Free roof inspection with deck photos before we talk money - GAF and Owens Corning certified installation
Roof Repair Troubleshooting in Whitney: Common Problems and How to Fix Them
A water stain on your ceiling in the middle of the room almost never means the leak is directly above it. Water travels along rafters and sheathing, sometimes six feet or more, before it finds a gap and drips. That single fact explains why so many Whitney homeowners patch the wrong spot, watch the stain return with the next rain, and give up on DIY repairs entirely. The symptom you see inside the house is rarely sitting under the actual failure on the roof. This guide teaches the diagnostic logic roofers use to work backward from symptom to source, so you can understand what your roof is telling you before you spend a dollar.
Quick Answer
Roof repair troubleshooting in Whitney starts with finding the actual failure point, not the stain. Water migrates along sheathing and rafters, so you trace the leak backward from where it drips to the point where it first gets under the roof surface. The five most common failure points on Whitney-area roofs are flashing around HVAC penetrations, valley seams, ridge caps, pipe boots, and low-slope sections. Matching the symptom to the right failure point determines whether you need a flashing repair or a shingle repair, and those are very different jobs.
Styles & brands we work with
- Architectural shingles
- Metal roofing
- Tile roofing
- GAF
- Owens Corning
- Flat & low-slope
Table of Contents
- How Water Travels and Why Your Stain Lies
- The Five Most Common Failure Points on Whitney Roofs
- Flashing Problem or Shingle Problem? How to Tell
- How to Spot a Repair Someone Already Tried and Failed
- What You Can Check From the Ground, the Attic, and When to Get on the Roof
- Whitney Climate and Housing: Why Roofs Fail the Way They Do
- A Step-by-Step Troubleshooting Process
- When Troubleshooting Points to Replacement Instead of Repair
How Water Travels and Why Your Stain Lies
The most useful thing to understand about roof leaks is that water is lazy. It follows gravity along the easiest path, and on a sloped roof the easiest path is usually down a rafter or along the underside of sheathing. A nail hole, a lifted shingle, or a failed pipe boot lets water in at the top of the roof, and that water then runs sideways and downhill before it soaks through the drywall ceiling below. By the time you see a stain, the entry point can be several feet away in any direction.
This is why “looking straight up from the stain” fails so often. If your ceiling stain sits in the middle of a room, the leak is almost certainly uphill from it, not directly overhead. To map it, work backward using a few reliable clues:
- Follow the slope. Water runs downhill. The source is uphill from the stain, never downhill.
- Follow the rafters. Water loves to ride a rafter. Look for the nearest rafter line and trace it up toward the ridge.
- Check penetrations first. Vents, pipes, and chimneys are the highest-probability entry points, so rule them out before blaming shingles.
- Watch it during rain. The time between when rain starts and when the stain darkens tells you roughly how far the water is traveling. A fast drip means a nearby source; a slow one means it’s running a long way.
In our experience across Whitney, most “mystery” leaks trace back to a penetration or a valley, not a random shingle in the middle of a field. Knowing that changes where you look first. If you want a professional to map a leak properly, roof repair starts with exactly this diagnostic step.
The Five Most Common Failure Points on Whitney Roofs
Roofs fail at their weak points, and the weak points are almost always where the roof surface is interrupted. Across Whitney, these five spots account for the majority of leaks we troubleshoot:
1. Flashing Around HVAC Penetrations
Every roof penetration for a vent or HVAC unit creates a joint where water can get in. The flashing that seals it takes the most punishment because it’s a raised, angled surface that collects debris and expands and contracts with heat. When that flashing pulls away or the sealant cracks, water gets under the shingles at that point and travels.
2. Valley Seams
Where two roof planes meet, the valley concentrates the entire flow of water from both slopes into one channel. If the valley flashing is installed wrong, worn, or clogged, water backs up under the shingles along the seam. Valley leaks are notorious for showing up far from the valley itself.
3. Ridge Caps
Ridge caps cover the very top of the roof, and they take wind from every direction. Whitney’s wind and sun dry out the sealant and loosen the caps over time. A lifted ridge cap lets water in along the peak, where it can run down either slope.
4. Pipe Boots
The rubber boots that seal around plumbing vents are one of the first things to fail on any roof. The rubber cracks with sun exposure and age. Once cracked, they leak quietly, and because the pipe usually sits over a bathroom or kitchen, the stain shows up inside long after the failure.
5. Low-Slope Sections
Any section of roof that’s flatter than the rest drains more slowly and holds water longer. On Whitney homes, low-slope porches, additions, and patio covers are common culprits. Water sits, works under the edges, and finds its way in.
Flashing Problem or Shingle Problem? How to Tell
From inside the house, a flashing leak and a shingle leak look identical: a stain, a drip, a damp patch. But they require completely different fixes, and treating one as the other is how repairs fail. The distinction is worth understanding before you call anyone.
A shingle problem usually shows up as a leak in a broad area or after a specific wind or rain event. Look for missing, lifted, cracked, or granule-bare shingles near the source. Shingle leaks tend to happen in the field of the roof and often trace to one damaged course.
A flashing problem shows up at edges, joints, and penetrations. The signs are subtle from the ground but clear up close: cracked sealant along a vent, a lifted edge where the roof meets a wall, rust on metal flashing, or loose valley metal. Flashing leaks often appear after heavy rain or wind and can be intermittent, which is a strong hint that it’s a seal or joint issue rather than a broken shingle.
A quick way to think about it:
- Leak after wind, missing shingles visible: likely a shingle problem.
- Leak around a pipe, vent, or valley, rain-driven: likely a flashing problem.
- Leak that comes and goes with heavy rain only: usually a seal or flashing joint, not a hole.
- Leak with no visible shingle damage: look hard at flashing and penetrations first.
Mixing these up is expensive. Replacing shingles over a failed flashing joint doesn’t stop the leak, and re-sealing flashing over a torn shingle field just postpones the next problem. Getting the diagnosis right is the whole job. Multi-brand access matters here too; if the repair does call for shingles, working with Owens Corning, IKO, or Atlas products through one contractor lets the fix match what’s already on your roof instead of introducing a mismatched course.
How to Spot a Repair Someone Already Tried and Failed
When a leak keeps coming back, the roof has often been patched before, and the new patch failed the same way the old one did. Catch that pattern and you stop paying to fix the same spot twice. These are the visual signs a repair has already been attempted:
- Sealant smeared over joints. Mounded, glossy, or cracking sealant at a flashing or valley edge is a classic sign of a quick patch that never addressed the actual failure.
- Mismatched shingles. A patch of shingles that don’t match the surrounding color or texture means a prior repair. It may be fine, but it’s worth checking whether water is still getting under it.
- Nail heads showing through or sealant over nails. Visible nails or sealant blobs on shingle faces suggest someone was chasing a leak and nailing down the symptom instead of the cause.
- Fresh tar or cement patches. A tar patch on a valley, ridge, or penetration is a repair that skipped the real fix. Tar cracks fast under Whitney sun.
- Repeated staining in the same spot. If a stain was painted over or dried and then came back, the underlying leak was never corrected.
Finding these signs doesn’t mean the previous work was dishonest. It usually means the repair wasn’t diagnosed all the way to the source. Our Roofing Whitney approach is inspection first, so we know what’s under the patch before recommending the next step.
What You Can Check From the Ground, the Attic, and When to Get on the Roof
You don’t need to climb a roof to gather useful information, and there’s a good reason not to. Roof work at height is genuinely dangerous, and a fall from a sloped roof can be catastrophic. Here’s how to divide the work safely.
What you can safely evaluate from the ground
- Missing, lifted, or cracked shingles visible from below.
- Sagging along the roofline, which points to sheathing or structural issues.
- Debris buildup in valleys and behind penetrations.
- Gutter overflows and staining that suggest where water is backing up.
- Granules collecting at downspouts, a sign of shingle wear.
What you can safely check in the attic
- Water stains on rafters and sheathing, which map the path water is taking.
- Daylight showing through the roof deck.
- Damp or discolored insulation below suspected failure points.
- Rust on nails, which tells you water has been present for a while.
When getting on the roof is necessary
Some failures can only be confirmed up close: flashing joints, valley metal, pipe boot condition, and the seal at penetrations. That’s when a professional inspection pays for itself. A trained eye can read those details in minutes, and our technicians have up to 9 years of experience tracing exactly this kind of failure. If you’d rather not guess, a standalone roof inspection gives you a clear picture without any obligation to buy a repair or replacement.
Whitney Climate and Housing: Why Roofs Fail the Way They Do
Roof problems don’t happen in a vacuum. They happen in a place, with its own sun, wind, and building patterns, and Whitney has its own particular set of pressures. Understanding those pressures helps you predict which failures are most likely on your roof.
This part of the Las Vegas Valley gets intense, direct sun for most of the year. That sun does two things to a roof: it bakes the oils out of asphalt shingles, making them brittle and granule-shedding, and it degrades every rubber and sealant joint faster than in cooler climates. Pipe boots, vent seals, and flashing sealant are the first casualties. That’s why so many Whitney leaks start at penetrations rather than in the middle of a shingle field.
Heat also drives expansion and contraction. Metal flashing grows and shrinks daily, and over time those cycles work sealant loose at joints and edges. Paired with the valley’s share of wind-driven rain during the summer monsoon season, the failure points we covered earlier line up almost exactly with Whitney conditions.
Housing adds another layer. Whitney has a mix of single-family homes with low-slope porch and patio sections, plus roofs that are now old enough to show the wear you’d expect. A low-slope section on a Whitney home is a maintenance point, not a design flaw. Watch it, keep it clear, and have it checked when you’re up for any other roof work.
If you want your roof assessed against these local conditions, seeing the whole Whitney picture is where a good inspection starts.
A Step-by-Step Troubleshooting Process
Here’s the process a roofer actually works through. You can follow the first several steps yourself without leaving the ground.
- Find the symptom. Note exactly where the stain or drip is, when it appears, and how heavy it is. A photo of the stain with the ceiling context helps.
- Trace uphill. Draw a line from the stain toward the ridge. The failure is somewhere on that line, not below it.
- Check the nearest penetrations. Any vent, pipe, or chimney uphill of the stain gets inspected first, because penetrations are the highest-probability source.
- Check the nearest valley or ridge. If the stain lines up with a valley or the ridge, those are the next suspects.
- Look inside for the path. Staining on rafters and sheathing in the attic shows the actual route the water takes, which usually pinpoints the entry point.
- Match the pattern. Wind-driven or heavy-rain-only leaks point to flashing. Broad or event-specific leaks point to shingles. Intermittent leaks point to joints and sealant.
- Check for prior patches. Mismatched shingles, tar, and smeared sealant tell you a repair was already tried and failed.
- Decide whether the roof needs a professional look. If the cause isn’t clear from the ground and the attic, that’s the point to have it inspected up close.
If a roof is coming up on replacement rather than repair, roof replacement is where a full inspection should point you, and it’s worth planning rather than react to.
When Troubleshooting Points to Replacement Instead of Repair
Most leaks are repairs, not replacements. But troubleshooting sometimes reveals that a repair would be a band-aid on a roof that’s already past its service life, and that’s when the honest answer changes.
A repair makes sense when the failure is localized: one flashing joint, one pipe boot, one damaged course. A replacement makes sense when:
- The shingles across the roof are brittle, heavily granule-shedding, and curling at the edges. That’s a roof at the end of its life, and patching one section just moves the problem around.
- Multiple leaks turn up in different areas at the same time.
- Sagging or soft sheathing suggests deck damage beneath the shingles.
- Previous patches are everywhere and keep failing.
- The roof is approaching the age where repair costs will add up faster than a planned replacement.
This is where having real product options matters. Multi-brand access across GAF, CertainTeed, Owens Corning, IKO, Atlas, Tamko, and Boral means the recommendation fits your roof and budget instead of one manufacturer’s standing deal. An inspection-first approach keeps that decision in your hands, which is the whole point of troubleshooting before you commit.
Common Mistakes to Avoid
- Patching the stain instead of the source. Painting or re-painting a ceiling stain while the leak continues just hides the evidence. The leak will come back.
- Assuming the leak is directly above the stain. Water travels along rafters and sheathing, so look uphill, not straight up.
- Tarring over a flashing joint. Tar cracks fast in Whitney sun and leaves the real failure untouched. If a joint needs attention, it needs sealant or replacement made for the job.
- Replacing shingles when the leak is a pipe boot. Pipe boots fail quietly and often, and swapping shingles around one won’t stop the leak.
- Ignoring a repair someone else made. Mismatched shingles and smeared sealant are clues to why your leak keeps returning. Check the history before re-patching.
- Climbing the roof without experience. Roof work at height is genuinely dangerous. Ground and attic checks are safe; the roof itself should be a professional’s job.
- Letting a small leak become a deck problem. Water that stays in a roof long enough softens sheathing, and soft sheathing turns a small repair into a much bigger one.
See the difference
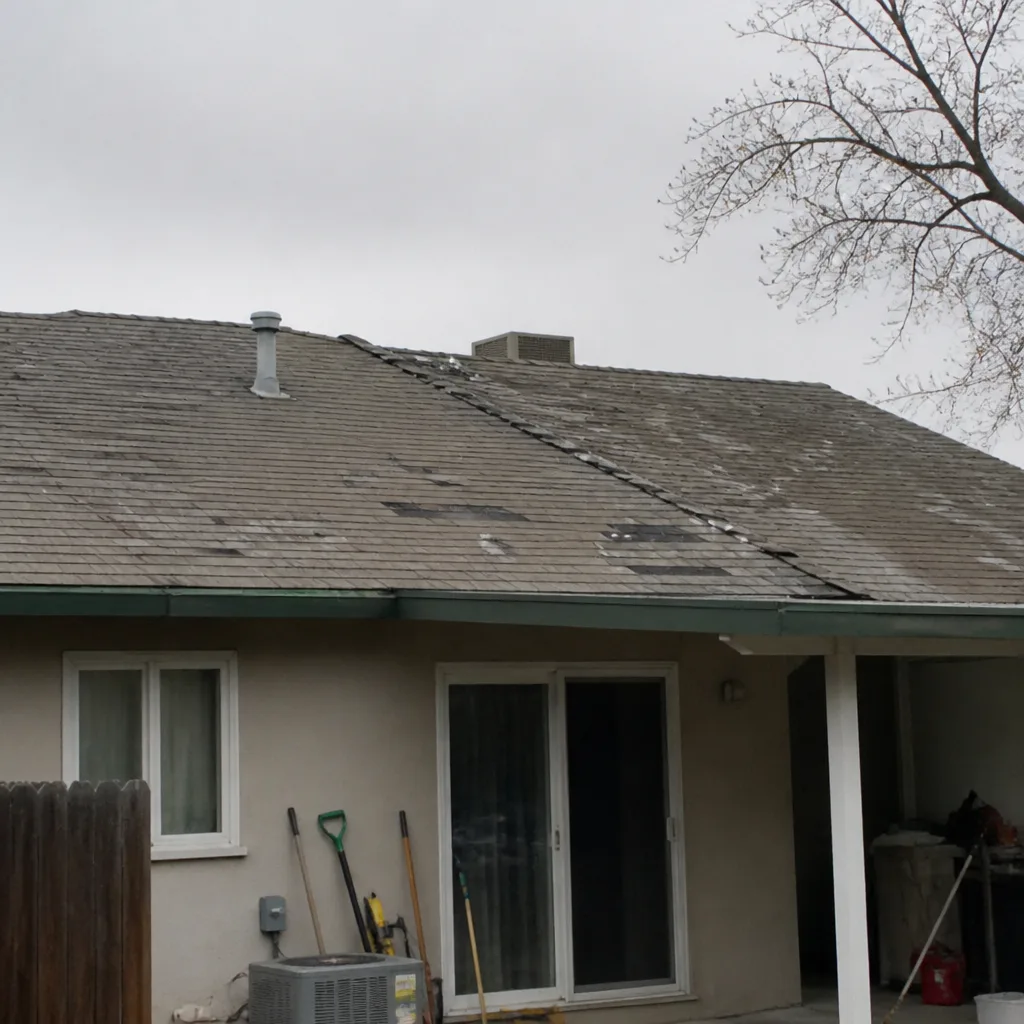 Before
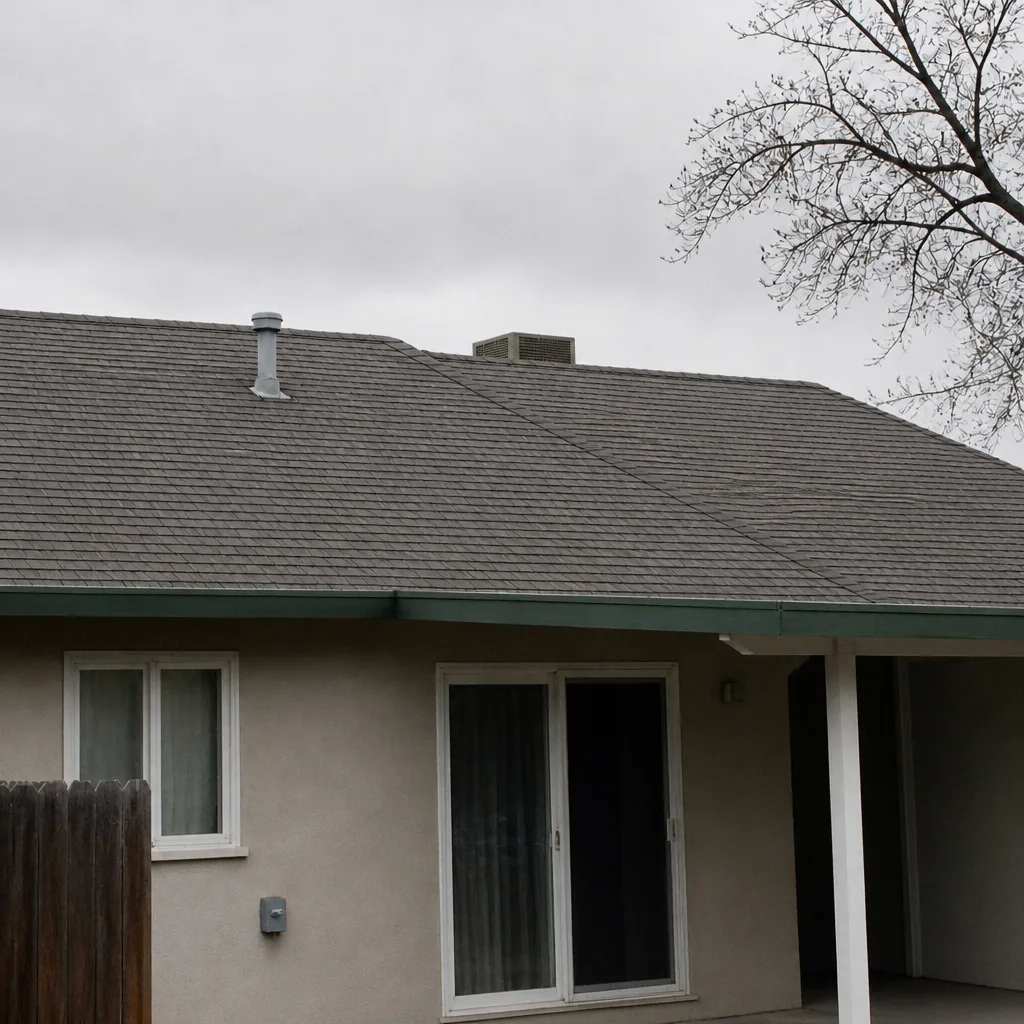 After
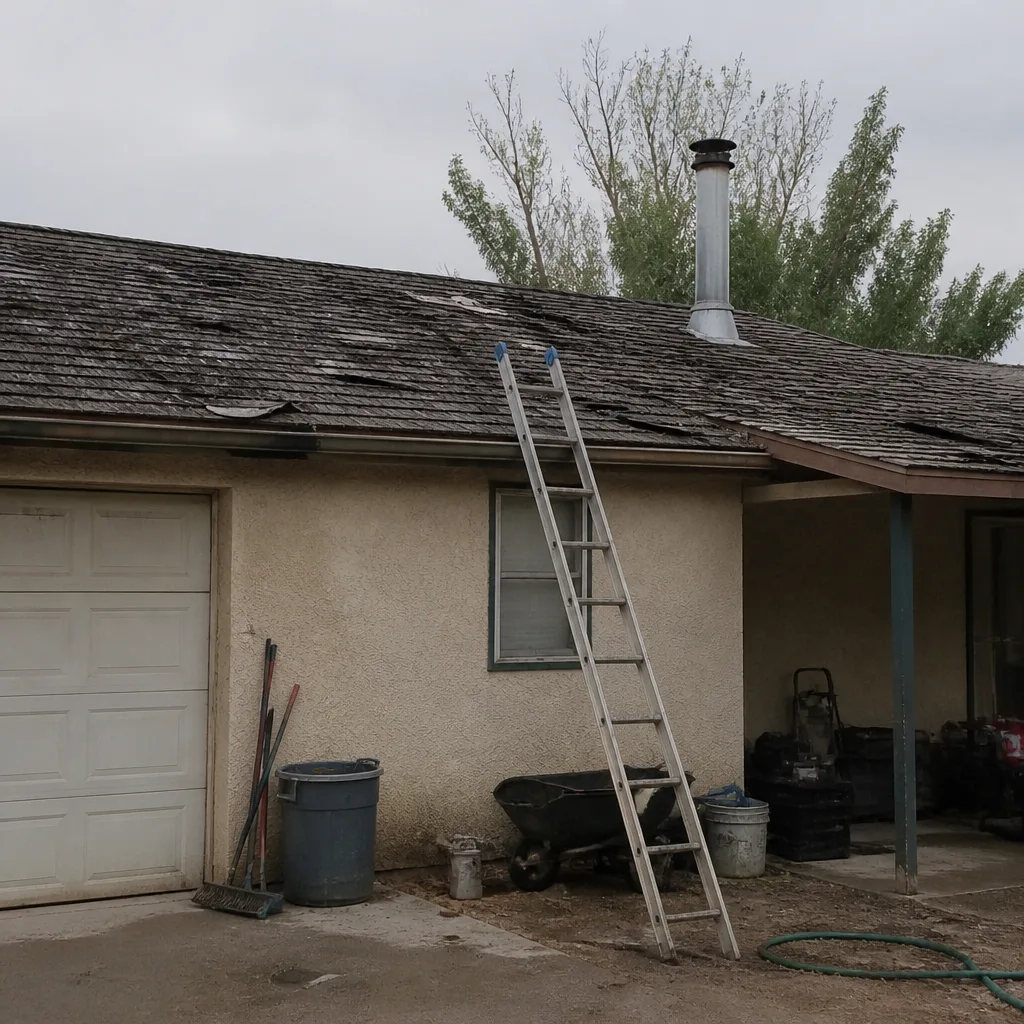 Before
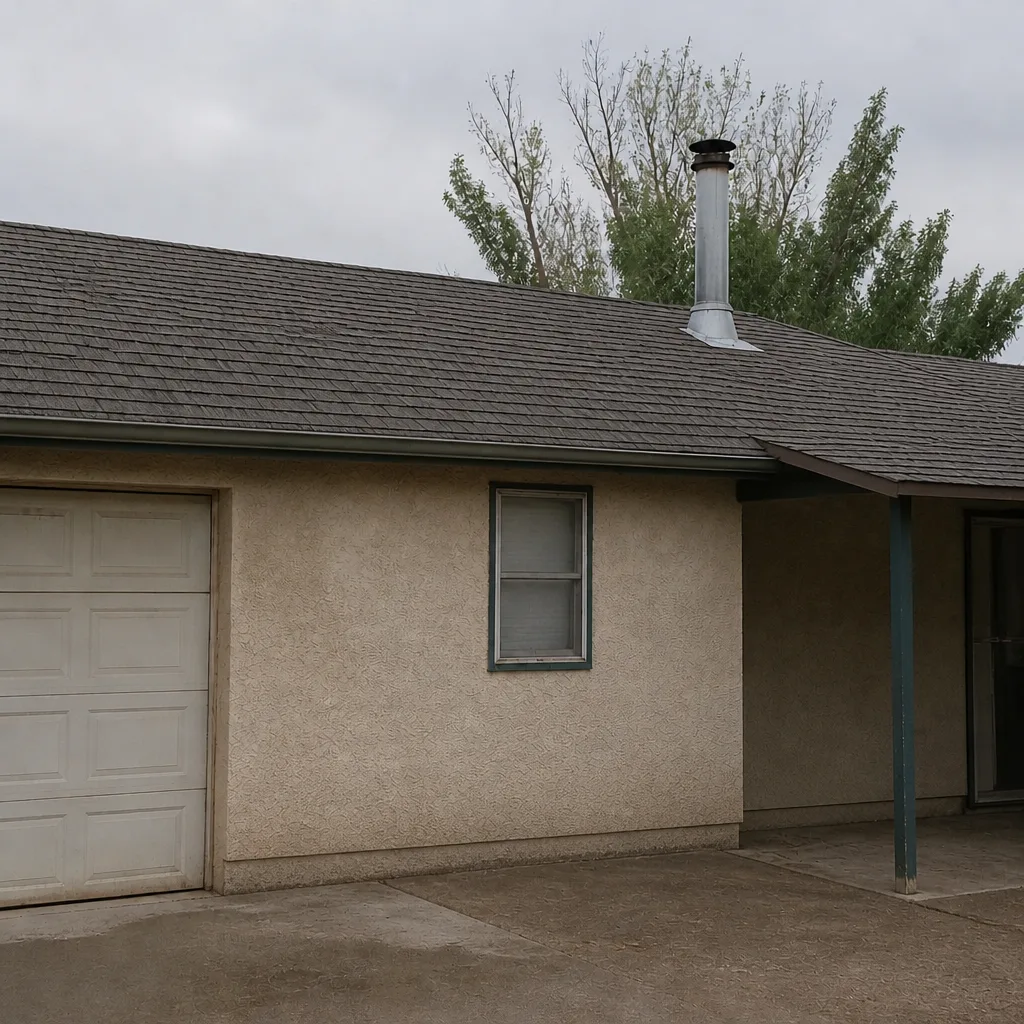 After
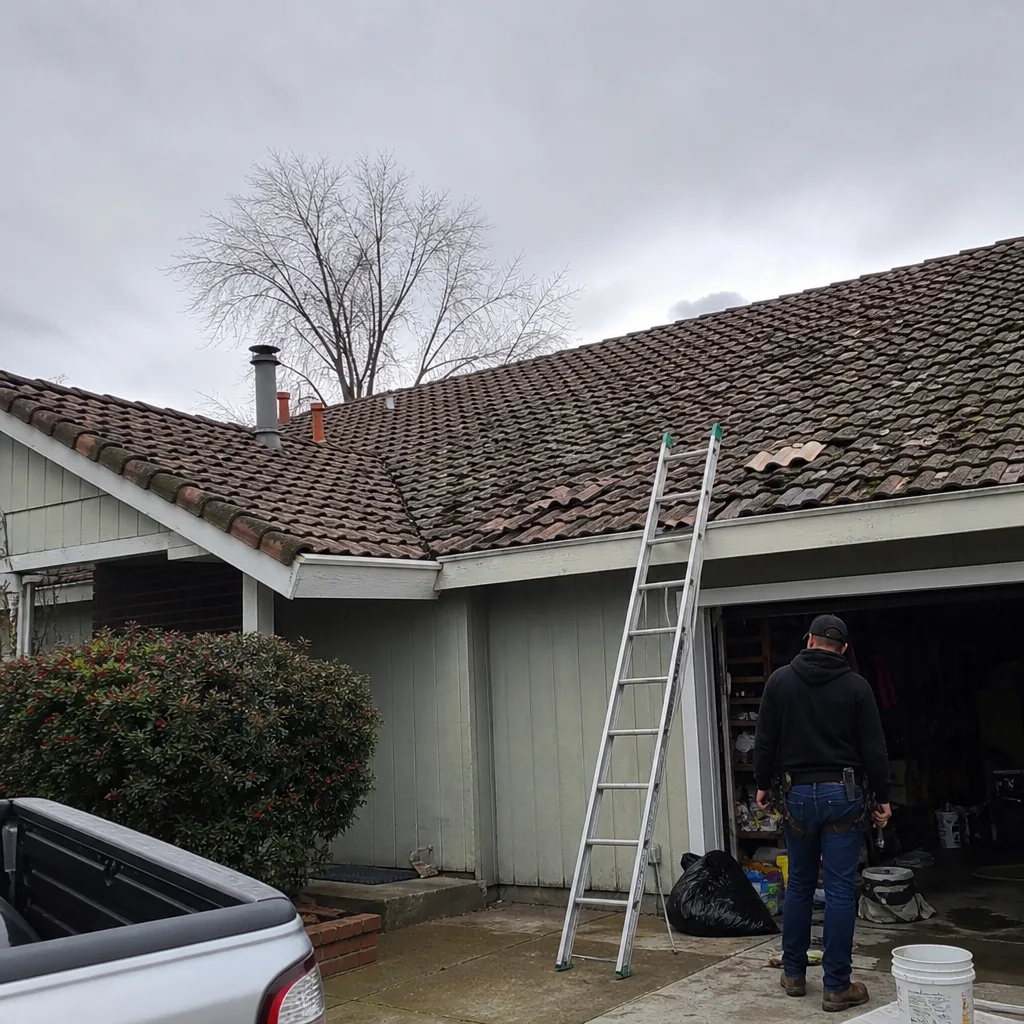 Before
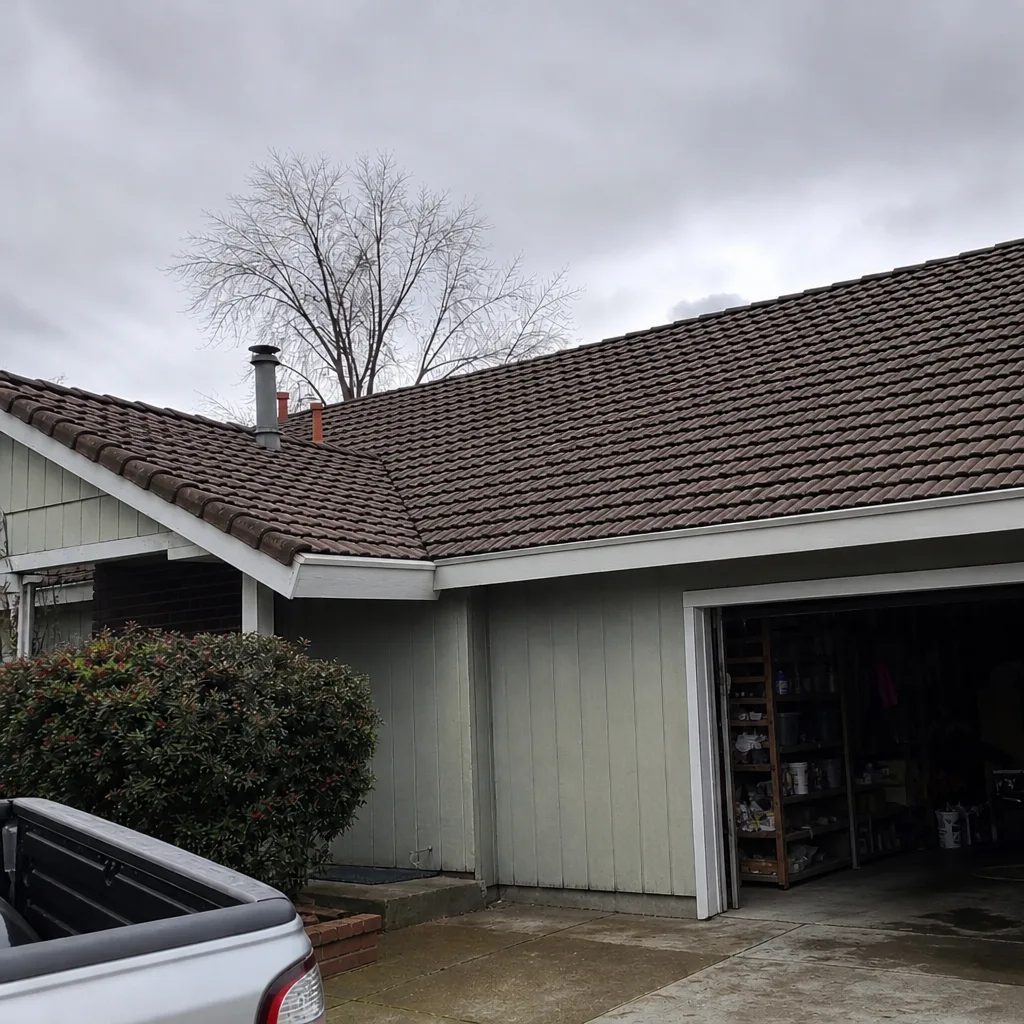 After
When to Call a Professional
Some troubleshooting you can do yourself. Some of it needs a roofer on the roof. Call a professional when the leak’s source isn’t clear from the ground and attic, when water is actively dripping inside, when the roof is steep or high, or when you spot signs of a previous repair that failed. If a stain keeps coming back after a patch, it’s time to have the source diagnosed properly rather than patched again. If a roof is sagging or a ceiling is soft, don’t wait on it. Roofing Whitney offers free estimates in Whitney. Call (844) 320-5203 to get a professional assessment and know what your roof actually needs before spending a dollar.
Frequently Asked Questions
Because water travels. It follows gravity along rafters and the underside of sheathing and can run several feet before it finds a gap and drips through. The stain marks where the water exits, not where it enters. To find the source, trace uphill from the stain and check the nearest penetrations and valleys first. Call (844) 320-5203 if you’d like the leak mapped properly; estimates are free.
Look at the pattern. Leaks that appear only during wind-driven or heavy rain, or that sit near a vent, pipe, or valley, usually point to flashing. Leaks after a wind event with missing or lifted shingles visible usually point to shingles. If there’s no visible shingle damage and the leak is intermittent, suspect flashing. Call (844) 320-5203 for an exact diagnosis.
You can safely investigate, but the repair itself is usually best left to a roofer. Ground-level and attic checks are safe and useful. Roof work at height is dangerous, and a DIY patch over a misdiagnosed leak fails fast under local sun. The money you save usually gets spent again on the same spot. Call (844) 320-5203 to get it repaired once and correctly.
Repair cost depends entirely on the failure: a pipe boot or flashing joint is a small, localized job, while valley or low-slope repairs run higher because more of the roof is involved. There’s no honest flat number without an inspection. We give a written estimate that sets the final price before any work starts, and estimates are free. Call (844) 320-5203 to schedule one.
No. The written estimate we give you after inspection is what you pay. The price is set per job by that estimate. If troubleshooting reveals a bigger problem than expected, that gets explained and discussed before anything changes, not after. Call (844) 320-5203 to get a written estimate that holds.
Repair when the failure is localized and the rest of the roof is sound. Replace when shingles are brittle and granule-shedding across the roof, leaks are showing up in multiple places, or previous patches keep failing. A standalone roof inspection gives you a clear picture before you decide, without funneling you into a sale. Call (844) 320-5203 to book one.
The Bottom Line
The stain on your ceiling is a clue, not a location. Water travels along rafters and sheathing, so the useful skill in roof repair troubleshooting is working backward from the symptom to the actual failure. The five most common points in Whitney are HVAC flashing, valley seams, ridge caps, pipe boots, and low-slope sections. Telling flashing from shingle problems, spotting a repair that already failed, and knowing what you can safely check from the ground and attic will save you from patching the wrong spot twice. When the diagnosis needs a trained eye on the roof, that’s the point to call.
Roofing Whitney offers exactly three services: Roof Inspection, Roof Repair, and Roof Replacement. Inspection comes first, so you know what your roof actually needs before spending a dollar. Seven leading brands, one focused roofer. Call (844) 320-5203 for a free estimate. We answer 24/7. Fast dispatch from 7am to 7pm, Sunday through Friday.
Written by the team at Roofing Whitney.